We placed rebar all the way down in the corners, and into two holes in the middle of the long sides. About one foot apart we put short (18") pieces of rebar; these will be used to tie the rebar across the structural slab. In the plunge-cut holes Scott cut earlier, we laid two rows of rebar. We tied all the joints together with rebar wire. Fairly easy job.

As for all the remaining holes, we jammed them with paper, plastic bottles, and whatever else we could find. This prevented us from having to fill every hole all the way to the bottom with concrete. If we were to do it again, we would have filled the holes before laying the rebar. But it worked.
 |
| Our daughter, Paradis, jamming the holes with paper. |

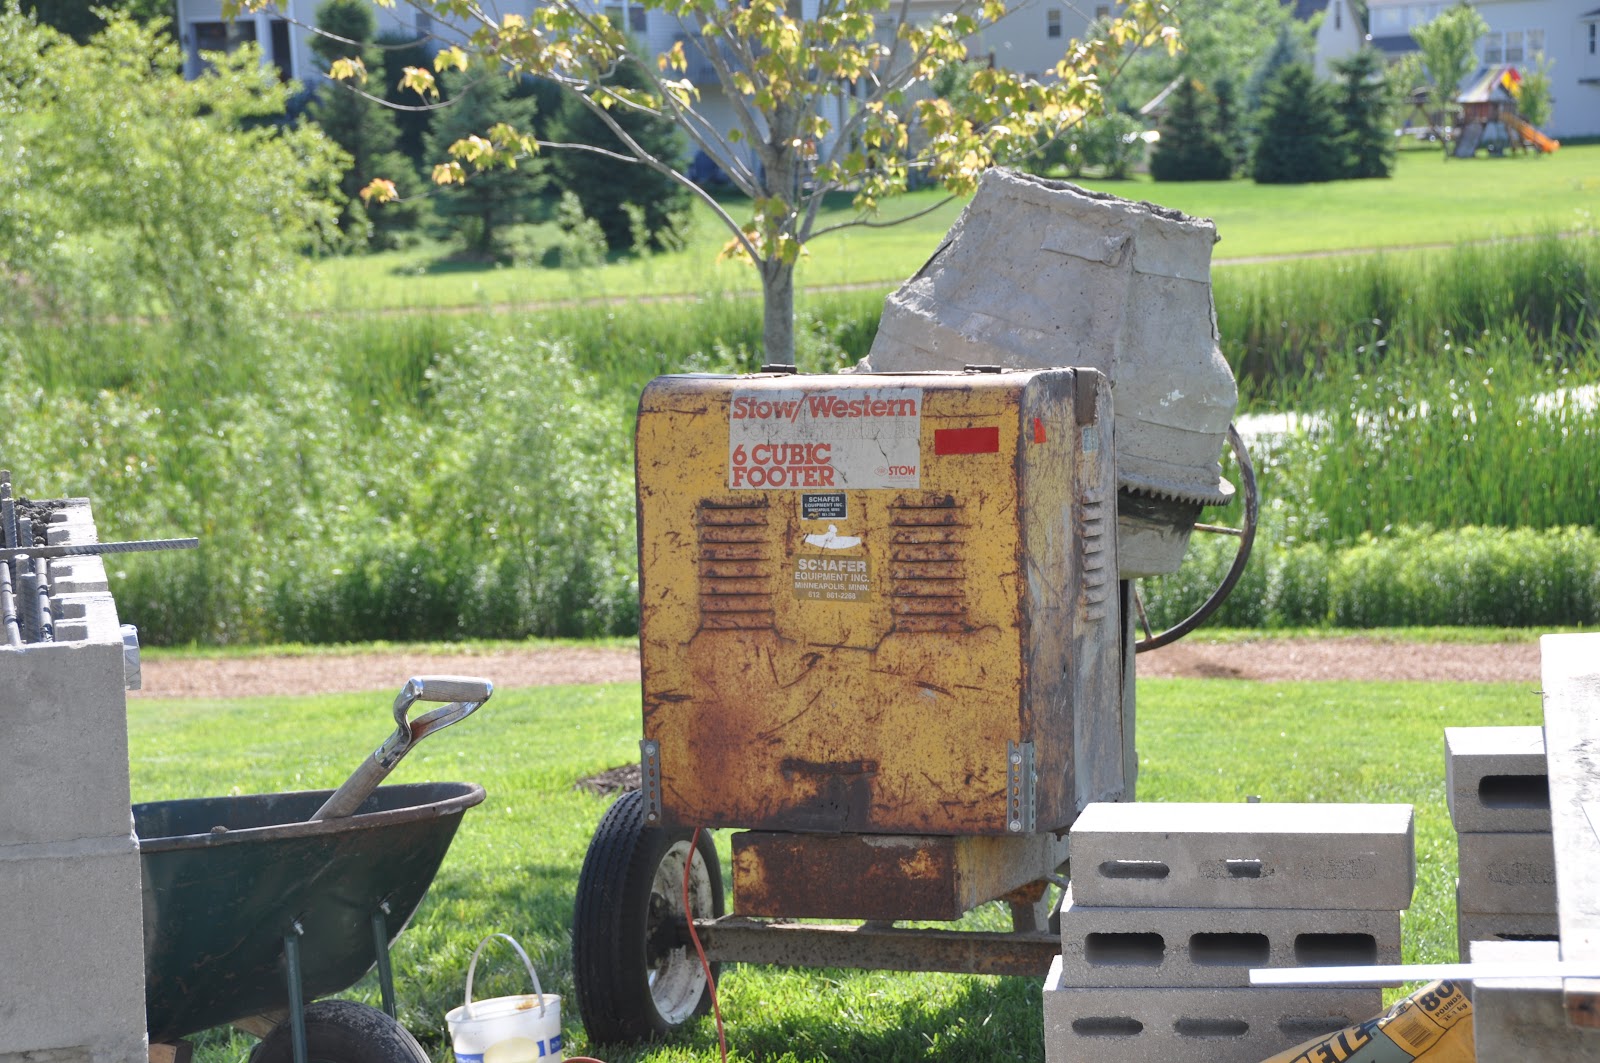
Then we started mixing the concrete. The mixer worked great. We used 3 bags of left-over Masonry Quickcrete (green) and 6 bags of the basic Quickcrete (yellow bag). We simply poured the concrete from the mixer into a wheelbarrow, and then scooped it out with a shovel and poured it into the holes. We used rebar to 'tap' it down into the holes. Pretty simple.

No comments:
Post a Comment